


Introduction:
When it comes to managing a procurement process, businesses must ensure that they have the proper resources and tools. With the help of NetSuite’s financial management system, they can focus on their core business. In this blog post, we’ll talk about some of the steps involved when a prepayment is necessary.
Understanding Prepayments:
Prepayments are payments made in advance to vendors before goods or services are delivered. This practice is common in many industries and helps establish trust between buyers and suppliers. In NetSuite, managing prepayments involves a systematic approach to ensure accurate accounting and financial transparency.
How to set up Vendor Prepayments in NetSuite
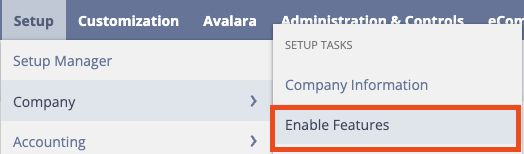
Go to Setup > Company > Setup Tasks > Enable Features.
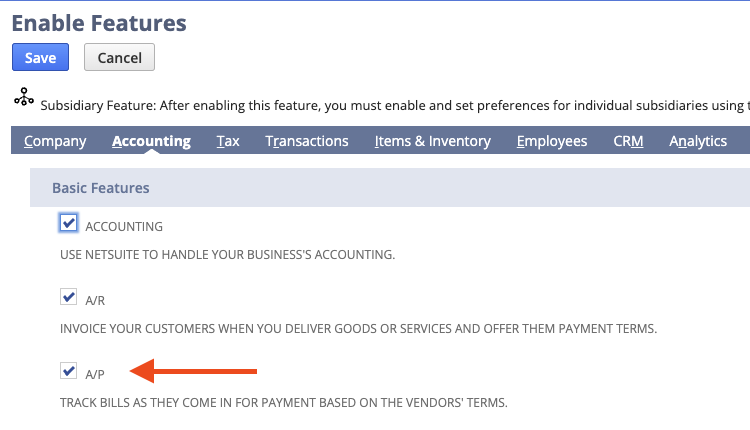
Click the Accounting subtab, and under the Basic Features section, verify that the A/P box is checked.
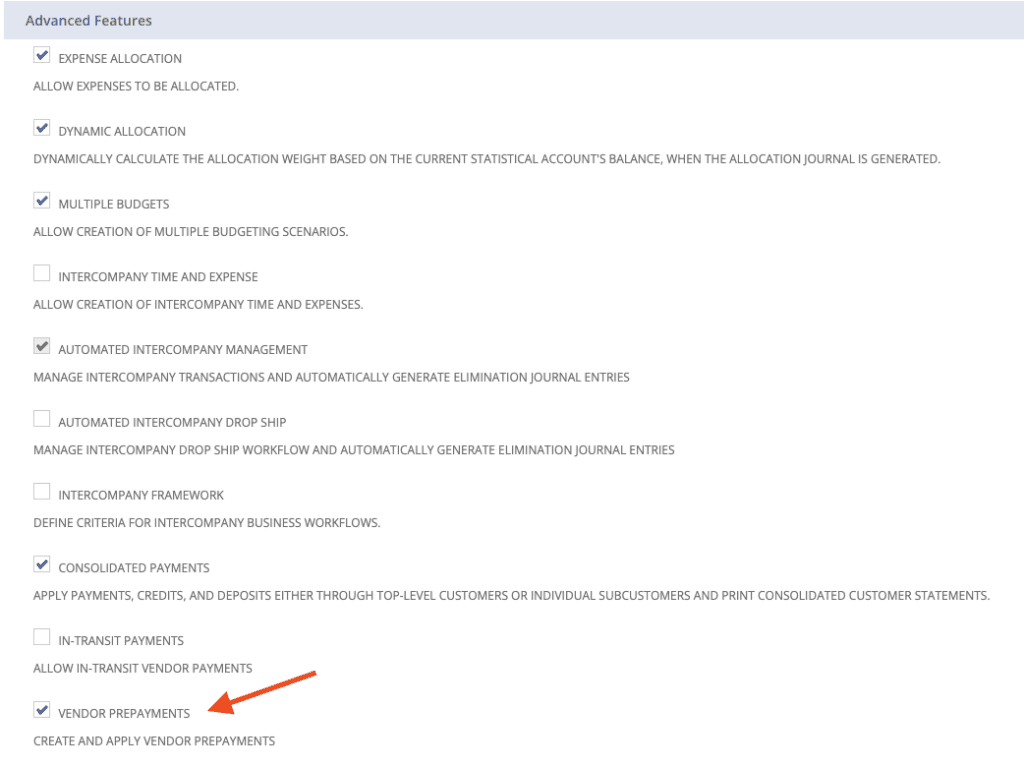
Under the Advanced Features section, check the Vendor Prepayments box, and then click Save.
Configure Default Vendor Prepayment Account:
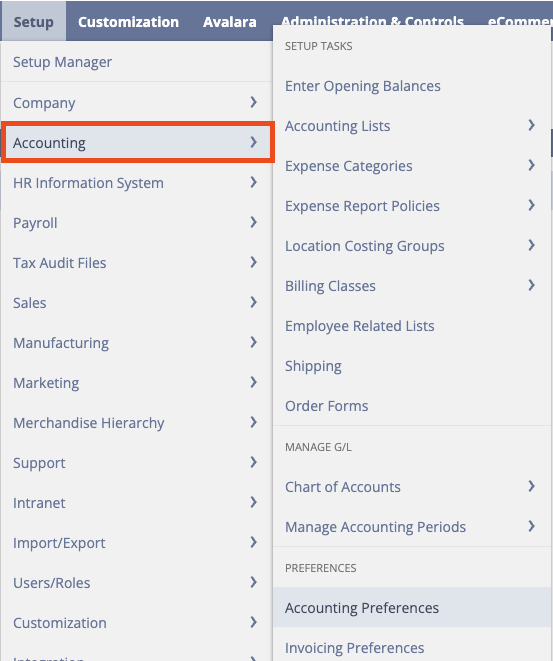
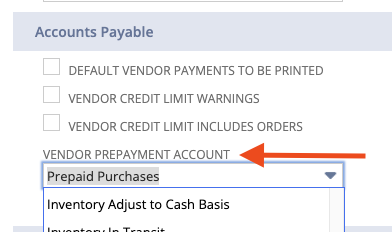
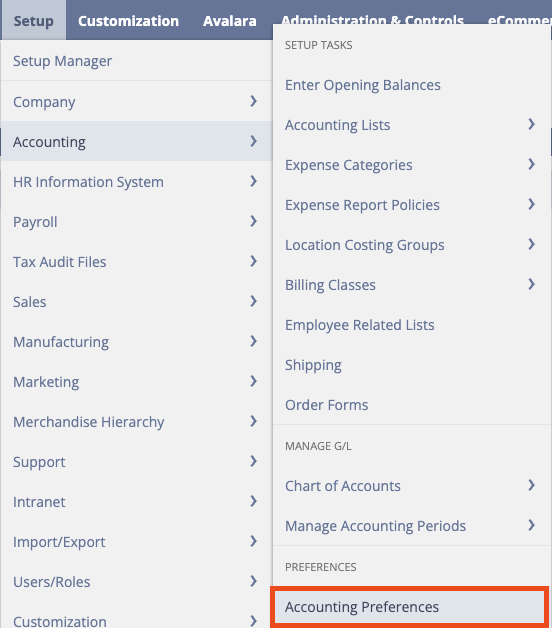
At the Company level, go to Setup > Accounting > Accounting Preferences.
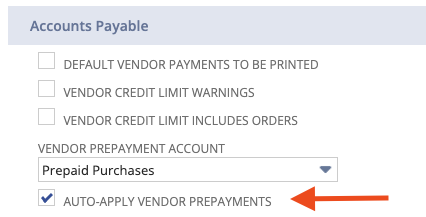
Under the Accounts Payable section, select an account from the Vendor Prepayment Account dropdown list.
Note: This can be done at the Company level OR at the Subsidiary level.
Permissions for Vendor Prepayments:
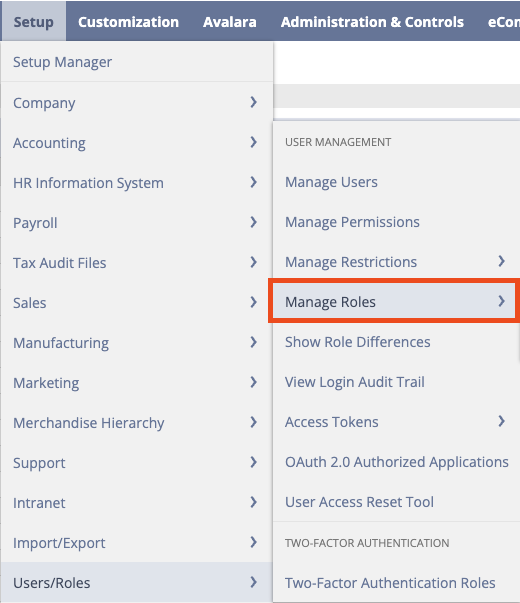
Go to Setup > Users/Roles > User Management > Manage Roles.
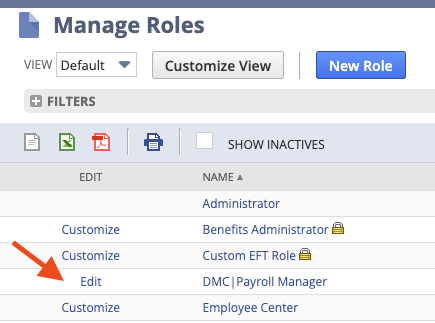
Locate the role you want to modify and click Edit or Customize.
On the Permissions subtab, click Transactions.
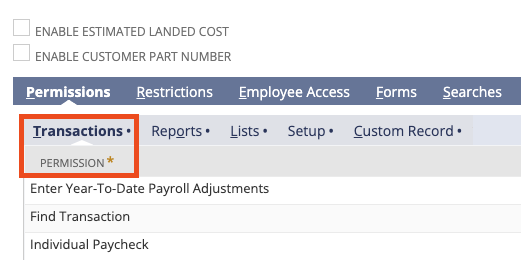
In the Permission dropdown list, select the corresponding permission: Vendor Prepayment – To authorize the user or role to work with vendor prepayment transactions. Click OK, and Save.
Configure Vendor Prepayment with Auto–Apply:
Go to Setup > Accounting > Preferences > Accounting Preferences.
Under the Accounts Payable section, configure the Auto-Apply Vendor Prepayments setting:
Check the Auto-Apply Vendor Payments box to automatically apply your vendor prepayments. Clear the Auto-Apply Vendor Prepayments box if you want to apply your prepayments manually.
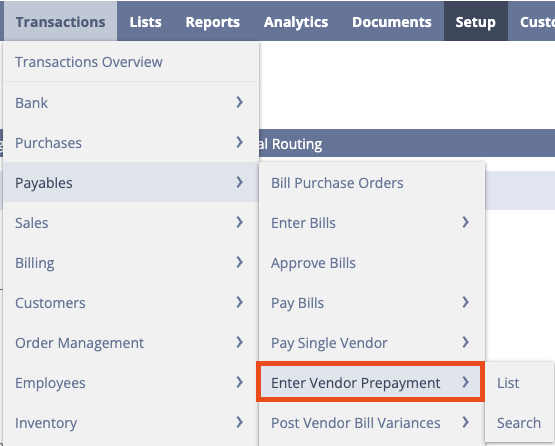
How to Create Vendor Prepayments:
Go to Transactions > Payables > Enter Vendor Prepayment.
Conclusion:
Effectively managing prepayments in NetSuite involves a well-coordinated process that integrates purchase orders, vendor bills, and payments. By following these steps, and with NetSuite analytics, businesses can streamline their procurement workflows, enhance financial accuracy, and strengthen relationships with suppliers. NetSuite’s comprehensive suite of features empowers users to navigate the complexities of prepayments with confidence, contributing to overall operational efficiency and financial transparency.
About Us
We are a NetSuite Solutions Partner and reseller with 30+ years of combined experience. We specialize in implementation, optimization, integration, rapid project recovery and rescue as well as custom development to meet any business need. If you would like more information on the NetSuite financial management system or require consultation for your project or implementation, feel free to connect with NetSuite Support.
To Contact Us ClickHere